


How to Build a Pergola on a Deck
Are you looking to upgrade your backyard sanctuary with an attractive pergola as the centerpiece of your brand new deck? Pergolas provide shade and respite from the sun, but they also add visual appeal to both large and small decks—not to mention a touch of sophistication! If you're scoping out how to build a pergola on a deck in your backyard design, follow along here for helpful tips and start with these 6 easy steps:
- Measure the deck space for the pergola. Consider how much space you’d like between the posts, space around the outside, and the height of the pergola.
- Choose a pergola style and amount of shade coverage. Decisions include how much desired shade and overall coverage.
- Gather the installation tools and pergola materials. More materials and tools will be required if you're building from scratch. DIY pergola kits will shorten your list.
- Prepare the deck surface. The pergola will be most secure by pulling up boards to install the posts. We do not recommend installing a pergola on top of the deck boards.
- Assemble the pergola. For prefab pergola kits, follow the instructions with your kit. Building from scratch? Follow your design instructions.
- Apply finish to the pergola. Timing of pergola wood staining and sealing depends on your pergola wood type. If you want to stain before installing, choose cedar.
How to Build a Pergola on a Deck in a Few Easy Steps
Building your own pergola can be a daunting task, especially for those without much experience in DIY projects. But don't worry, you have choices! You can build your pergola from scratch or try out a do-it-yourself (DIY) kit that comes ready to assemble. Whether you're building your pergola from a kit or a custom designed pergola, plan ahead and map out the steps for your pergola project. Keep reading here for tips and steps to keep in mind for constructing a beautiful, functional deck pergola. Here are the steps to build a pergola on a deck.
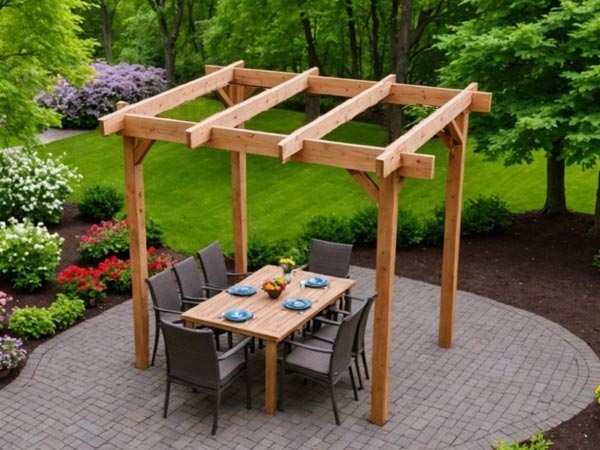
1. Measure Your Space
Measuring for a pergola is one of the first and most important steps in your deck pergola plan! Are you looking for a square or a rectangle pergola? Consider how much space you’d like between the posts. If you have a patio dining set that you’d like covered with ample space to walk around, measure the length and width of that space and add a few extra feet. That will be the measurement you’d like inside the posts of the pergola.
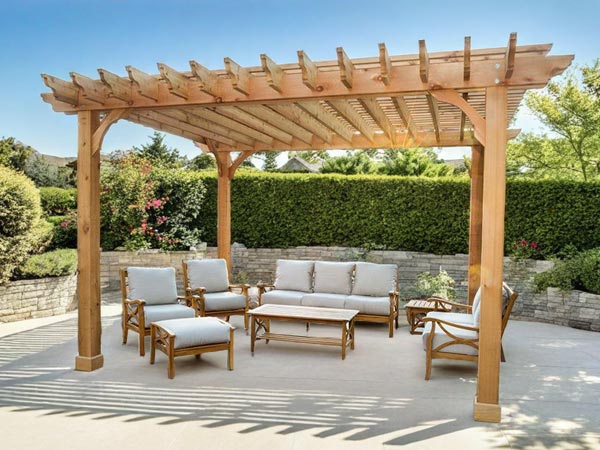
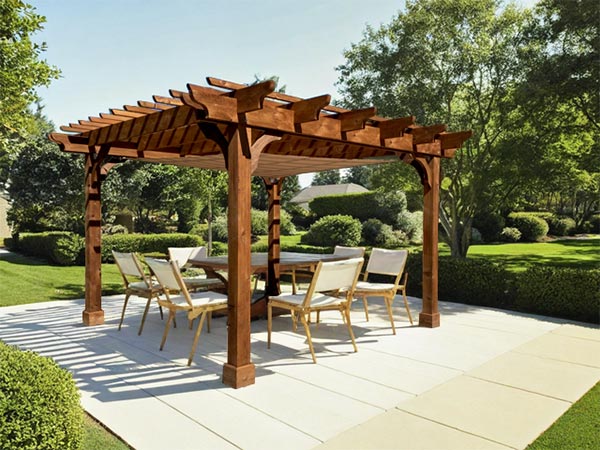
 2. Choose a Pergola Style and Shade Coverage
Do you like modern or more classic? How much shade would you like your pergola to provide? Choose a pergola that matches the style of your deck to ensure that it looks cohesive, and maximize your shaded area by considering a pergola with a roof.
3. Gather Tools and Pergola Materials
After you’ve selected the type of pergola, you can start to gather the necessary tools to build your pergola. You'll need basic tools such as a drill, hammer, saw, and level. If you're going the route of one of our pre-cut, ready to assemble kit shipped to your location, we recommended to line up a few helpers at this point that will be around to help you unload the pergola and install it. Have your team assembled ahead of time so when you’ve received your pergola shipping information, your team is ready to be at your location to help inspect and unload your new pergola kit pieces! The assembly process of our pergola kits usually requires 2-4 people that are capable of unloading lumber and helping put the pieces in place.
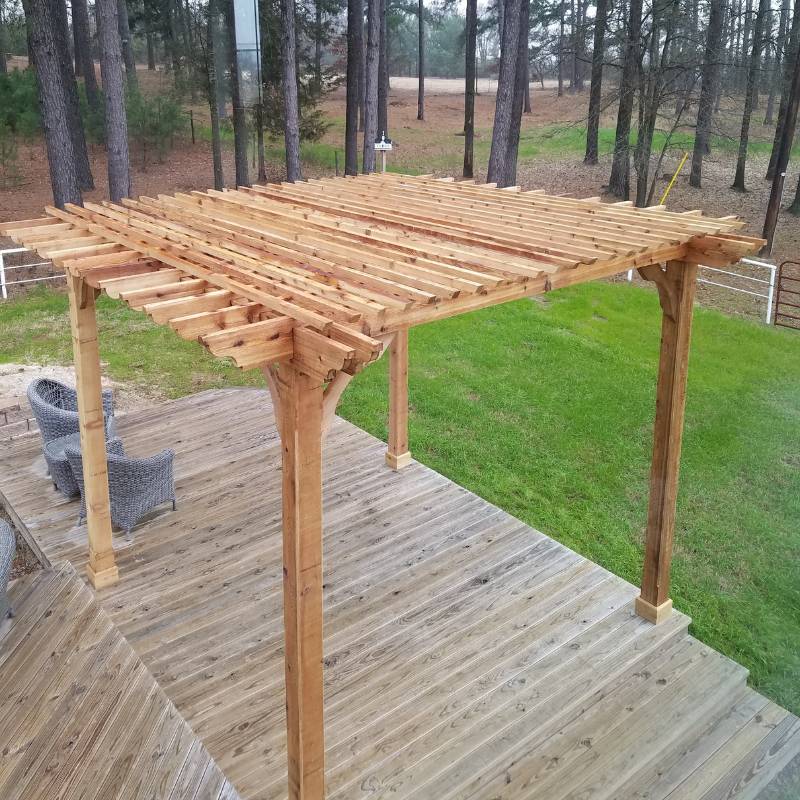
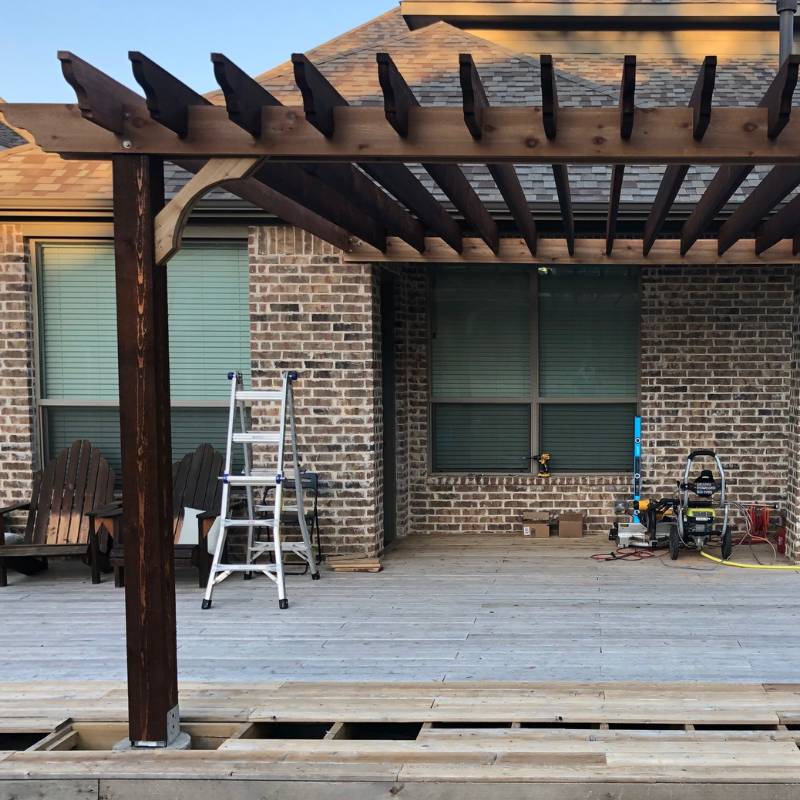
4. Prepare the Deck Surface
Next up is prepping the deck. To build a pergola on a deck, you’ll want a clear pathway for installing your new kit. Clean up your deck to create a clean surface to work with. Measure the deck and mark the spots where you'll be placing your posts. Then you'll need to pull up the boards where the pergola posts will be positioned and create footers below the deck. If you’re not experienced in this area, consider asking a friend with construction experience to help out, or hire a local contractor or handyman.
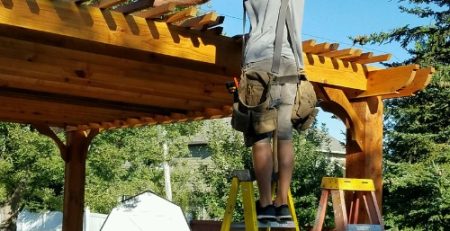
5. Assemble the Pergola
Now for the fun part! Assemble your pergola according to the installation instructions. We recommend reading through the instructions before you begin installing to be sure you have the necessary tools and any questions answered about the installation steps. (Note: our DIY deck pergola kits include step-by-step instructions for how to build a pergola on a deck based on the style pergola you’ve selected). 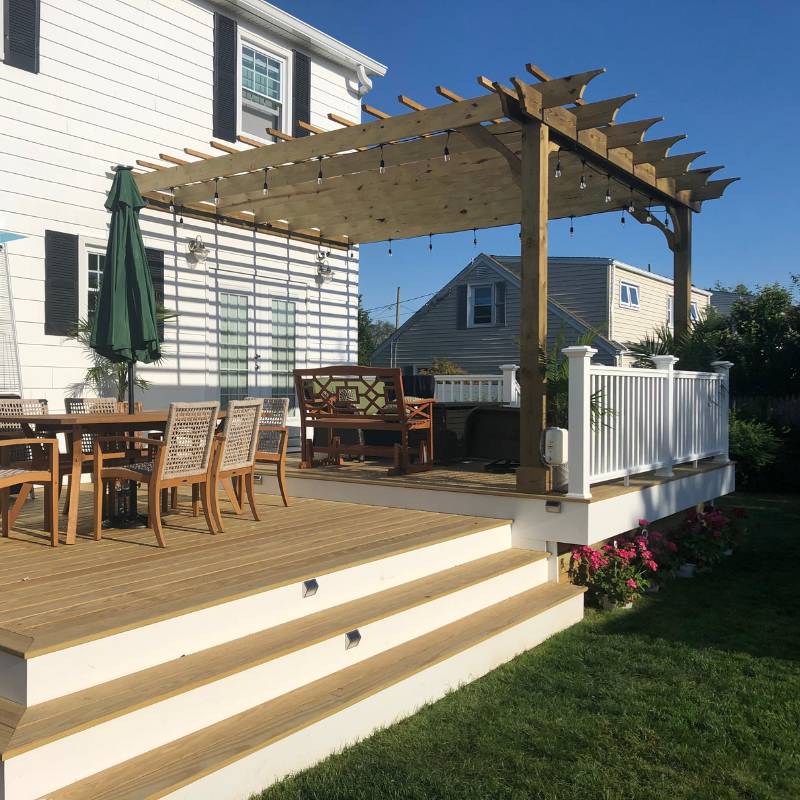
6. Apply Finish to the Pergola
For stain, paint, or sealant - be sure to select the wood type that will allow you to apply the finish of your choice at the time that works with your project. For wood pergola kits, you’ll either apply finish to your pergola components before or after installation. For example, with cedar - you can add paint, stain, or sealant to components before installation, or directly after. For pressure treated pine - you’ll install the pergola first, then wait 2-3 months until the pressure treatment dries to add a coat of paint, stain, or sealant. If you’re interested in applying finish right away, you’ll want to select cedar for your pergola wood type.
Once it’s assembled, you can then begin to add finishing touches. You can also consider adding curtains, lights, or potted plants around your pergola to create a beautiful, cozy outdoor space.
So that's a quick look at the steps to assembling your new pergola. If you're now on board with building a pergola on your deck, let's review a few important steps to help ensure a successful project! Whether you're building your deck pergola from a kit or from scratch, you'll want to get prepared ahead of time so the project goes smoothly.
How to Prepare for Building a Pergola on a Deck
Before you get started, it's crucial to keep in mind a few important steps to consider when building a pergola on a deck. Have you already built a deck or had your deck installed, or are you in the planning stages? What size pergola will fit in your space? If you're new to measuring for a pergola, take a moment to review the space available, and decide how tall, wide, and deep you'd like it to be.
After you've decided on the pergola size and design, find out if you'll need a permit to build it. Check with your local HOA, city, or county for requirements for adding a deck and pergola. If you've found out that a permit is required, submit your application along with any engineered drawings that might assist in getting the stamp of approval. Sometimes that can take a few days or a few months. After you've received the go-ahead to add the pergola, you can start gathering the needed tools and materials. Together with the measurements and permit, you can either create your list of materials needed including rafters, beams, posts, angles, top slats, and hardware. Or, if you've decided on using a pergola kit for your project, the materials and instructions will all be planned out and provided in the kit.
For pergola posts and post mounting, keep in mind that the materials required for installing the pergola will depend on whether your deck is already in place. If it is, in order to ensure a secure connection, you'll need to pull up the boards where the pergola posts will be positioned and create footers below the deck. We've provided a few extra tips for building a pergola on an existing deck here. By following these necessary procedures, you'll be well on your way to a successful pergola build on your deck.
Important Tips for Building a Pergola on an Existing Deck
If you've decided to take your deck to the next level, review these important steps to get started on building your new space. You’ll see that building a pergola on an existing deck requires a few extra steps, but it will be well worth your time when you’re relaxing in the shade of your new deck pergola!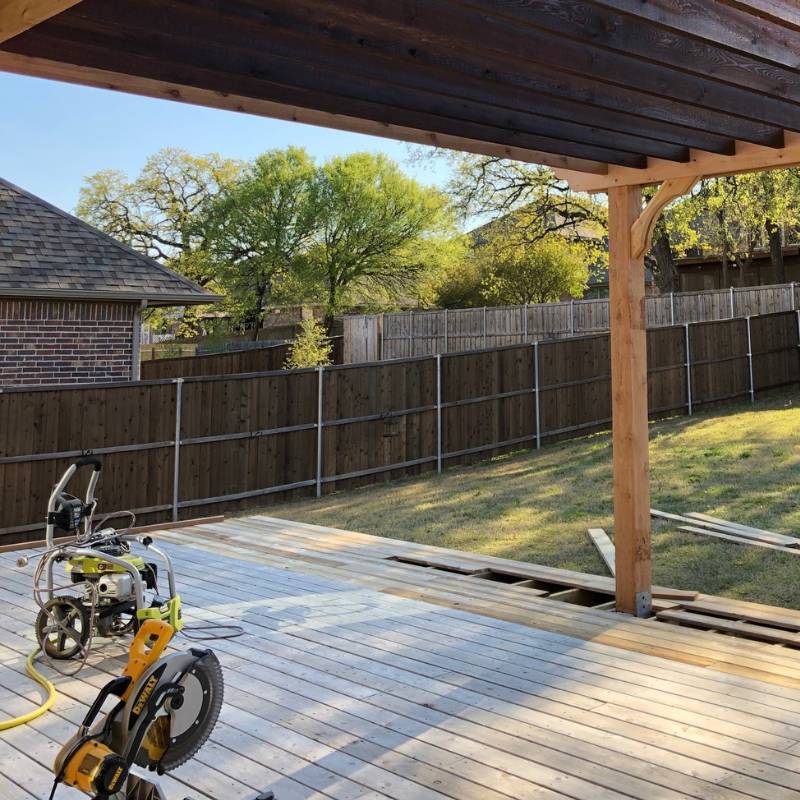
- Consider the type of structure you want to build and measure carefully.
- Calculate the necessary size needed inside the posts for a dining table, chairs, or planter boxes.
- Measure for the pergola height that your space will accommodate and this will determine your post height. Choose your post height based on how deep your posts will need to be installed.
- Choose the amount of shade you’d like the pergola to provide and select a pergola style that matches your shade needs.
- Gather tools and helpers for unloading and installation days.
- Prepare the deck. Pull up the boards where the posts will be installed, and clean up the area around where you’ll be laying out the pergola components during installation.
- Read and assemble*! Read through all installation instructions and either apply finish to your pergola components or install it. *For cedar - you can add paint, stain, or sealant to components before installation, or directly after. For pressure treated pine - you’ll install the pergola first, then wait 2-3 months until the pressure treatment dries to add a coat of paint, stain, or sealant. So, if you’re installing a cedar pergola kit, you can apply your finish now and then install.
- Add finishing touches such as shade panels, lighting, or plantings.
- Enjoy your new wood pergola!
That’s the quick overview on incorporating a deck with a pergola into your landscape. With a pergola kit, building a wood pergola on a deck is a manageable task. By following the simple steps above, you can create a beautiful and functional outdoor space. Not only does it add an aesthetic appeal to your deck, it also provides a much-needed shaded area to relax and entertain guests. So, grab your tape measure and get started on your deck pergola project today!
LOOKING FOR A SPECIAL SIZE PERGOLA? NEED HELP WITH SIZES?
If you need help finding the size and style to fit your space, request a custom pergola kit, shop all pergola kits, or contact us today!
Related Posts

PRO Contractor Program Update: More Kits and Savings
Pergola Depot continues to invest in the professionals who build with our products. As part of that commitment, we’ve recently...

Do You Need a Permit to Build a Pergola?
Are you planning to install a pergola in your outdoor space? Normally one of the first questions people ask is,...
Is It Cheaper to Buy or Build a Pergola?
A pergola is one of the most effective ways to add shade, style, and structure to an outdoor living space....
Articles Related to Pergola Kits

A quick PDF guide for buying and customizing wooden pergola kits from Pergola Depot.

Learn how to measure the height and rafter spacing for your pergola kit.

Find out the most common pergola sizes and styles that our customers use.